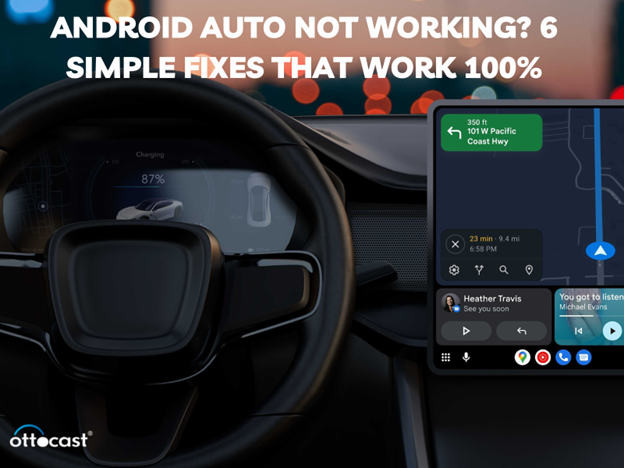
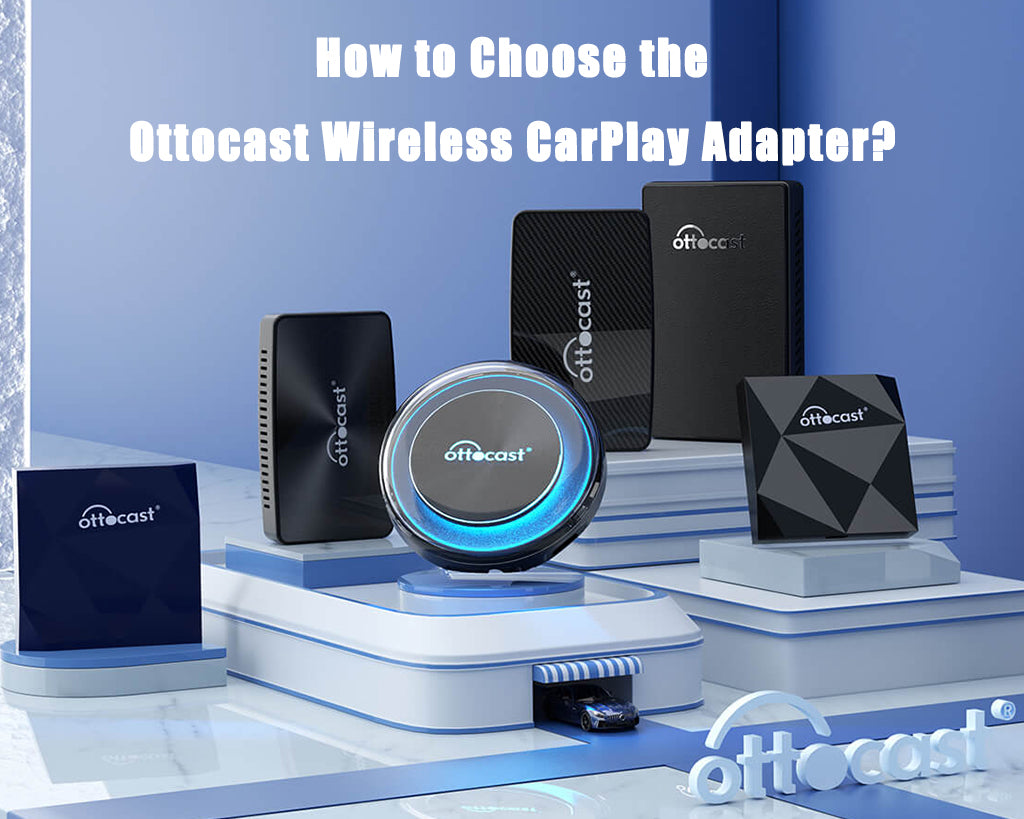
Embarque em uma jornada de conectividade perfeita com o App de Download do Android Auto, transformando sua experiência de direção em uma aventura tecnológica. Este aplicativo se integra facilmente ao sistema de infoentretenimento do seu carro, oferecendo uma maneira mais inteligente de navegar, se entreter e permanecer conectado na estrada.
Desbloqueie a liberdade de uma direção conectada com o download gratuito do aplicativo Android Auto. Diga adeus às limitações, pois este aplicativo inovador oferece controle por voz, navegação e acesso aos seus apps favoritos sem nenhum custo. Eleve sua experiência de direção com o aplicativo Android Auto, onde conveniência e acessibilidade se unem para uma experiência de condução mais livre e aprimorada.
O que é o aplicativo Android Auto?

O aplicativo Android Auto é seu ingresso para transformar seu carro em um espaço de direção conectado e mais inteligente. É uma extensão do seu smartphone Android que traz uma interface personalizada e amigável para motoristas ao sistema de infoentretenimento do seu carro.
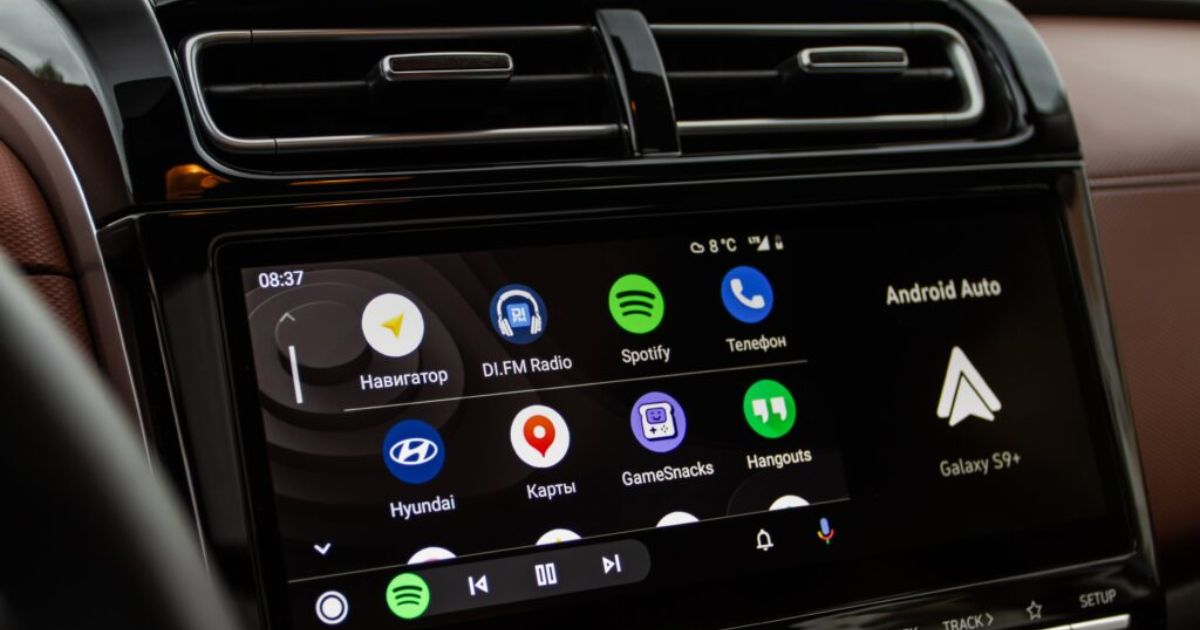
Com o aplicativo, você pode acessar facilmente navegação, música e chamadas em modo mãos-livres em uma tela amigável, garantindo uma experiência de direção mais segura e agradável. Conecte seu telefone ao carro via USB ou sem fio, se suportado, e deixe o Android Auto assumir o controle.
O aplicativo foi projetado para minimizar distrações, oferecendo uma interface simplificada e ativada por voz que permite que você fique conectado enquanto mantém os olhos na estrada. Seja navegando para um novo destino ou colocando sua playlist favorita para viagem, o aplicativo Android Auto torna tudo fácil e conveniente, transformando seu carro em um centro inteligente e conectado.
Baixar o aplicativo Android Auto | Guia Passo a Passo

Baixar o aplicativo Android Auto é muito fácil e totalmente gratuito! Aqui está um guia passo a passo para você começar:
Passo 1: Verifique a Compatibilidade:
Comece confirmando se seu smartphone Android atende aos requisitos de compatibilidade para o Android Auto. O aplicativo normalmente funciona com dispositivos que executam Android 6.0 (Marshmallow) ou superior.
Passo 2: Visite a Google Play Store:
Abra a Google Play Store no seu dispositivo Android. Você pode encontrá-la entre seus aplicativos ou procurando por ela na gaveta de apps do seu telefone.
Passo 3: Procure por "Android Auto":
Na barra de pesquisa no topo da Play Store, digite "Android Auto" e pressione enter. Procure pelo aplicativo oficial Android Auto nos resultados da pesquisa.
Passo 4: Selecione o Aplicativo:
Depois de encontrar o aplicativo Android Auto, toque nele para acessar a página de detalhes do aplicativo. Aqui, você encontrará informações sobre o aplicativo, incluindo avaliações de usuários e capturas de tela.
Passo 5: Inicie o Download:
Na página de detalhes do aplicativo, você verá um botão "Instalar". Toque nele para iniciar o processo de download. A Play Store fará o download e instalará o aplicativo automaticamente no seu dispositivo.
Passo 6: Abra o Aplicativo:
Após o download ser concluído, você pode tocar em "Abrir" diretamente na Play Store ou encontrar o ícone do aplicativo Android Auto na sua tela inicial e tocá-lo para abrir o aplicativo.
Passo 7: Conceda Permissões:
O Android Auto pode solicitar certas permissões para funcionar corretamente. Isso pode incluir acesso à sua localização, Bluetooth e outros recursos. Conceda as permissões necessárias para que o aplicativo funcione de forma ideal.
Passo 8: Conecte ao Seu Carro:
Conecte seu dispositivo Android ao sistema de infoentretenimento do seu carro usando um cabo USB. Se seu carro suportar conectividade sem fio, verifique se está ativada e siga os passos respectivos para uma configuração sem fio.
Passo 9: Siga as Instruções na Tela:
O Android Auto irá guiá-lo pelo processo de configuração inicial na tela do seu carro. Siga as instruções na tela para configurar o aplicativo de acordo com suas preferências.
Passo 10: Aproveite a Viagem:
Com o aplicativo Android Auto baixado e configurado com sucesso, você está pronto para desfrutar de uma experiência de direção mais segura e conectada. Acesse navegação, música, chamadas e muito mais com facilidade, tudo isso enquanto mantém o foco na estrada.
Parabéns – você completou os passos detalhados para baixar e configurar o aplicativo Android Auto, aprimorando sua jornada de direção com conveniência e conectividade!
Como Organizar os Aplicativos do Android Auto

Agora que você já conhece o procedimento para baixar o aplicativo Android Auto grátis, é hora de organizar seus aplicativos do Android Auto. Organizar seus aplicativos do Android Auto pode tornar sua experiência de direção ainda mais suave. Siga estes passos detalhados para arrumar o layout dos seus apps:
Passo 1: Acesse o Android Auto:
Ligue seu carro e conecte seu smartphone Android ao sistema de infoentretenimento do carro. Abra o aplicativo Android Auto na tela do seu carro.
Passo 2: Navegue até a Gaveta de Apps:
Procure o ícone "Apps" ou "Gaveta de Apps" na tela inicial do Android Auto. Geralmente é representado por uma grade ou série de quadrados e costuma estar localizado na parte inferior ou lateral da tela.
Passo 3: Entre no Modo de Edição:
Uma vez na gaveta de aplicativos, procure uma opção para entrar no modo de edição ou reorganização. Isso pode ser indicado por ícones como um lápis ou um rótulo que diz "Editar."
Passo 4: Selecione e Segure:
Toque e segure o ícone do aplicativo que deseja mover. Ao fazer isso, os aplicativos podem começar a tremer ou mostrar alguma indicação visual de que estão prontos para serem reorganizados.
Passo 5: Arraste para o Local Desejado:
Enquanto segura o aplicativo, arraste-o para o local desejado na tela. Você pode movê-lo para uma página diferente ou reorganizá-lo dentro da página atual. Solte o dedo para posicionar o aplicativo na nova posição.
Passo 6: Crie Pastas (se suportado):
Verifique se a sua versão do Android Auto suporta a criação de pastas. Se suportar, arraste um aplicativo sobre o outro. Essa ação normalmente cria uma pasta, e você pode adicionar mais aplicativos a ela arrastando-os para dentro da pasta.
Passo 7: Remova Aplicativos (se desejar):
Para remover um aplicativo da sua tela do Android Auto, entre novamente no modo de edição e procure uma opção como "Remover" ou "Excluir." Arraste o aplicativo para essa opção para removê-lo da tela.
Passo 8: Saia do Modo de Edição:
Depois de organizar seus aplicativos, saia do modo de edição. Procure uma opção como "Concluído" ou um ícone de confirmação para salvar suas alterações e sair do modo de reorganização.
Passo 9: Teste Sua Configuração:
Interaja com seus aplicativos organizados para garantir que eles estejam nos locais desejados. Navegue por diferentes páginas ou pastas para confirmar que seu layout personalizado atende às suas preferências.
Passo 10: Repita Conforme Necessário:
Repita esses passos para cada aplicativo que deseja organizar, criando um layout que facilite o acesso aos seus recursos mais usados e seja adaptado às suas preferências.
Seguindo esses passos detalhados, você pode organizar seus aplicativos Android Auto de forma eficiente, garantindo que sua experiência de direção seja personalizada, eficiente e adaptada às suas preferências.
Como Faço Para Tornar Um Aplicativo Compatível Com o Android Auto?

Garantir que seu aplicativo seja compatível com o Android Auto pode melhorar muito sua usabilidade. Siga estas dicas para fazer seu aplicativo se integrar perfeitamente ao Android Auto:
1. Entenda as Diretrizes do Android Auto:
Antes de começar a implementação, revise cuidadosamente as diretrizes de Qualidade de Aplicativos do Android Auto do Google. Essas diretrizes descrevem as melhores práticas, princípios de design e requisitos para garantir uma experiência segura e agradável no carro.
2. Atualize Seu Aplicativo:
Manter seu aplicativo atualizado é crucial. Garanta que seu aplicativo esteja executando a versão mais recente, incorporando quaisquer correções de bugs necessárias, atualizações de segurança e melhorias de compatibilidade. Isso alinha seu aplicativo com os padrões mais recentes do Android Auto.
3. Implemente o Media Browser Service:
Se seu aplicativo envolve reprodução de mídia, implemente o Media Browser Service. Este serviço permite que os usuários do Android Auto naveguem e controlem o conteúdo de mídia diretamente pela interface do carro, criando uma experiência multimídia integrada.
4. Utilize as APIs de Mensagens:
Para aplicativos com recursos de mensagens ou comunicação, aproveite as APIs MessagingStyle. Isso garante uma experiência de mensagens consistente no Android Auto, aderindo às diretrizes de segurança e oferecendo aos usuários opções eficientes de comunicação.
5. Otimize a Interface para Direção:
Modifique a interface do seu aplicativo para priorizar segurança e simplicidade. Siga as diretrizes de design do Android Auto para direção para criar uma interface que minimize distrações e seja facilmente navegável enquanto estiver na estrada.
6. Ative Ações por Voz:
Integre comandos de voz para permitir que os usuários interajam com seu aplicativo sem usar as mãos. Isso não só está alinhado com os princípios de segurança do Android Auto, mas também melhora a experiência geral do usuário, tornando seu aplicativo mais acessível durante a condução.
7. Teste com o Emulador do Android Auto:
Utilize o Emulador do Android Auto para simular o ambiente dentro do carro. Teste a funcionalidade, o layout e a responsividade do seu aplicativo para identificar e resolver quaisquer problemas antes de disponibilizá-lo aos usuários pela Play Store.
8. Gerencie Mudanças na Conectividade do Carro:
Implemente o CarConnectionCallback para gerenciar mudanças de conectividade de forma suave. Isso garante que seu aplicativo responda adequadamente quando um usuário conecta ou desconecta seu dispositivo do carro, proporcionando uma transição perfeita na experiência do usuário.
9. Suporte a Múltiplos Tamanhos de Tela:
Projete seu aplicativo para ser responsivo a vários tamanhos e resoluções de tela. O Android Auto está disponível em diferentes displays de carros, então otimizar seu aplicativo para adaptabilidade garante uma experiência consistente e visualmente atraente para os usuários em diferentes veículos.
10. Enviar para Revisão:
Depois de resolver todos os aspectos de compatibilidade e testar seu aplicativo minuciosamente, envie-o para revisão na Google Play Store. Isso envolve confirmar a conformidade com as diretrizes do Android Auto e garantir que seu aplicativo ofereça uma experiência segura e confiável para os usuários na estrada.
Seguir esses passos detalhados garante que seu aplicativo não apenas atenda aos requisitos técnicos do Android Auto, mas também esteja alinhado com as diretrizes de segurança e usabilidade para o usuário, proporcionando uma experiência fluida e agradável para os motoristas.
Por que meu Android Auto não está mostrando os aplicativos?

Ter um problema onde seu Android Auto não mostra seus aplicativos pode ser frustrante, mas não se preocupe! Vamos solucionar alguns problemas comuns e fornecer soluções:
1. Aplicativo Android Auto Desatualizado:
Problema: Seu aplicativo Android Auto pode estar desatualizado, causando problemas de compatibilidade.
Solução: Acesse a Google Play Store, encontre o Android Auto e toque em "Atualizar." Manter o aplicativo atualizado garante que ele esteja alinhado com os recursos mais recentes e correções de bugs, potencialmente resolvendo quaisquer problemas de exibição.
2. Permissões de Aplicativos:
Problema: Aplicativos que não aparecem podem não ter as permissões necessárias.
Solução: Vá para as configurações do seu telefone, encontre "Apps" ou "Gerenciador de Aplicativos", localize o Android Auto e os aplicativos específicos, e certifique-se de que eles tenham as permissões necessárias ativadas. Isso normalmente inclui permissões para localização, armazenamento e acesso ao sistema.
3. Falhas de Conexão:
Problema: Interrupções na conectividade entre seu telefone e o carro.
Solução: Se estiver usando uma conexão USB, desconecte e reconecte seu telefone com um cabo USB de alta qualidade. Para conexões sem fio, verifique se seu telefone está conectado à mesma rede Wi-Fi que seu carro. Reiniciar ambos os dispositivos ajuda a estabelecer uma conexão estável.
4. Compatibilidade do Aplicativo:
Problema: Alguns aplicativos podem não ser projetados para uso com o Android Auto.
Solução: Confirme a compatibilidade dos aplicativos que você está tentando acessar. Visite suas respectivas páginas na Play Store para verificar atualizações recentes ou correções de compatibilidade. Nem todos os aplicativos são otimizados para uso no carro, então escolha aqueles que suportam explicitamente o Android Auto.
5. Android Auto Não Ativado:
Problema: O Android Auto pode não estar ativado no sistema de infoentretenimento do seu carro.
Solução: Acesse as configurações do seu carro, navegue até a seção de conectividade ou infoentretenimento e certifique-se de que o Android Auto está ativado. Após fazer as alterações, reinicie tanto o carro quanto o telefone para aplicar as configurações, permitindo que o Android Auto fique visível e funcional.
Ao abordar essas soluções mais detalhadas, você aumenta a probabilidade de resolver problemas em que o Android Auto não exibe os aplicativos como esperado.
Conclusão
Em conclusão, o Android Auto Download App revoluciona a experiência de dirigir, integrando-se perfeitamente ao sistema de infoentretenimento do seu carro. Aproveite a liberdade da conectividade, navegação e entretenimento sem usar as mãos, tudo ao seu alcance. Eleve sua direção hoje com o Android Auto Download App, onde inovação encontra conveniência para uma jornada aprimorada.
